Adding Occlusion to Multicolor Soft Outline - Part I

This is the first of two part tutorial. Second part can be found here.
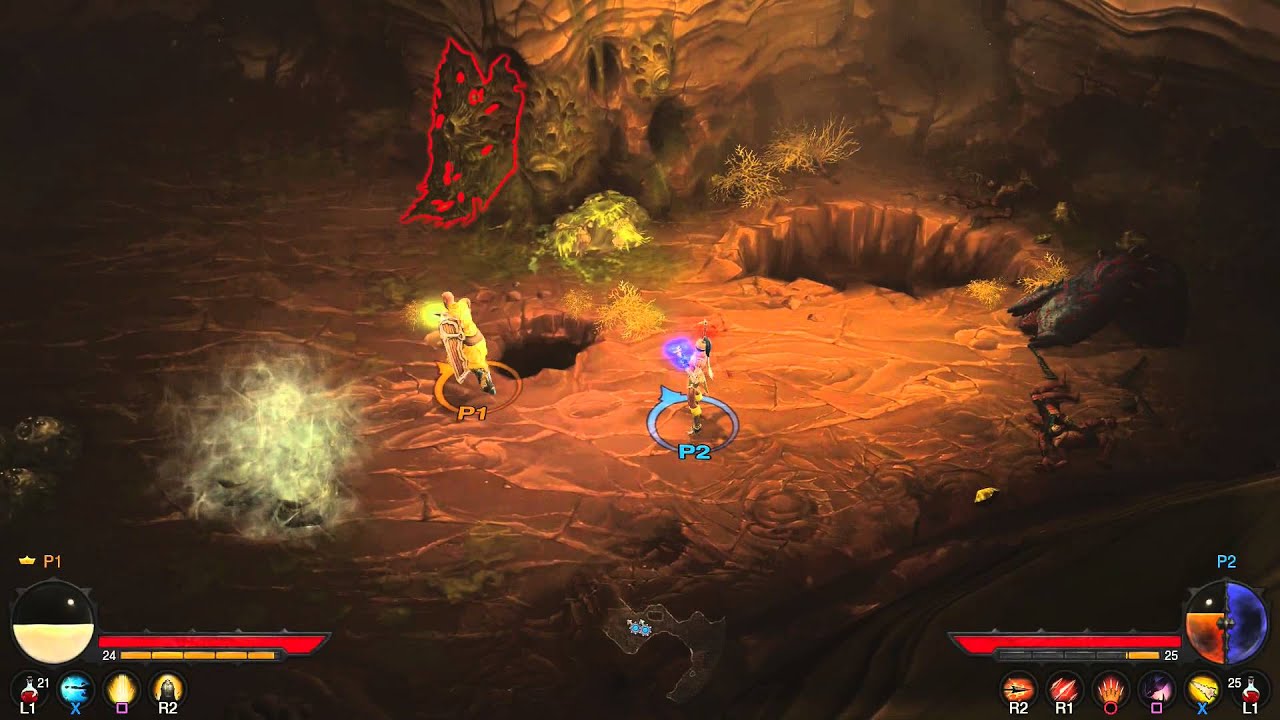
In previous tutorial on Multicolor Soft Outline I showed how to combine available tutorials to create a soft outline that you might have seen in games such as Diablo or many others. This material will once again be building on above mentioned tutorial so it might be worth a while to go and check it out.
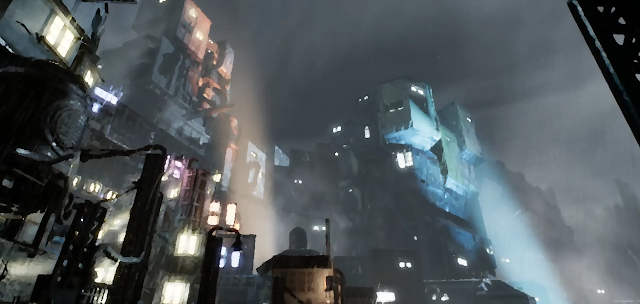
If you ever played Diablo 3, you might have noticed that the outline effect doesn't quiet resemble what was shown in previous tutorial. Instead the outline changes if a part of the selected model is occluded behind an obstacle. This is exactly the effect we will be trying to achieve in this tutorial!
I decided to divide it into two parts as we will require to create two materials and combine them into the final effect.
Idea
What we need to do is to create a first material that will edit our Custom Stencil buffer and set it to 0 if given part is occluded. This will allow us to pipe it with the Outline material that we already have and only make small changes to get the final result. First part of the tutorial will show how to edit the custom Stencil buffer and how to send the data to the second material (also known as the second shader pass)
Setup
Create a material, we will call it PP_OcclusionCheck. Set Material domain to be Post Process as per usual. We will want to use this material to edit the custom stencil buffer and pass the data to our next material where it will be processed. To do this we have to make sure that we pass both the image of our scene and the edited custom stencil. Unreal Engine allows to output only one channel per default (the final image rendered on the screen through Emissive Color pin), so we first need to open up new channel. Stencil buffer is basically just a single number that tells us what color (in our case stencil values 252-255) should our outline be, or it outputs 0 if the pixel is not part of the object that should have be outlined.In the material property scroll down to Post Process Material and set it up as follows:

The Output Alpha checkbox will allow access to Opacity pin just below the Emissive Color. We will use the Opacity pin to send the information on how the stencil looks without values that are occluded.
Material
With the material set up, we only need to put together nodes in our material that will adjust the Stencil buffer. Nodes in the material look as follows:

Where UV node is a Custom node with following code:
return GetDefaultSceneTextureUV(Parameters, 14);
and Compute Outline is a Custom node that will set the value to stencil if the object is occluded in given pixel. This can be easily performed by comparing Custom Depth and Scene Depth. If the value of Custom Depth is larger than that in the Scene Depth we know there is an object in front and hence an occlusion. This can be done by following code:
float maxStencil = 0;
float stencilVal = stencil.x;
float depthDif = 1- (customDepth.x - sceneDepth.x);
return stencilVal * clamp(depthDif,0,1);
float stencilVal = stencil.x;
float depthDif = 1- (customDepth.x - sceneDepth.x);
return stencilVal * clamp(depthDif,0,1);
Result
When you use the material now, there shouldn't be much difference from what you would see if you didn't use it. However, if you want to make sure it is working properly, plug Divide pin to Emissive Color and play around, to see that every time to get behind an object that is not part of the Custom depth buffer, the occluded part is removed from the result. It can look something like this.

Issues
- All the issues from the original tutorial

Comments
Post a Comment