Cel Shading Post Process In Unreal Engine

Today's post will briefly show how to create a simple cel (or toon) shading post process material in Unreal Engine. This effect is rather simple to create, and yet it is very popular as it creates a more cartoony look of the scene.
Idea
Idea of the cel shading is to reduce number of shades in the image to a certain (developer) given number. We can do this by increasing range of the colors (default RGB values in [0;1]) to number of shades we need (with 5 shades, RGB values range is [0;5]).
This allows us to sample, which shade level current pixel should fall into by dividing extended range by number of shades, e.g.:
- ceil(0.1 * 5) / 5 = 0.2
- ceil(0.5 * 5) / 5 = 0.6
- ceil(0.7 * 5) / 5 = 0.8
This code is based of code by Sun and Black Cat.
Material and Code
We set up post process material to allow us to easily change number of cel shades used via Material Instance.

We use two scalar paramters, Number of Shades and Intensity Correction. First one will allow us to define how many levels of shades we want in the scene. Second will help us to increase/decrease brightness of the scene, to avoid getting completely black, or white pixels.
The custom node code goes as follows:
float intensity = ceil( (RGB + intensityCorrection) * numShades) / numShades;
float3 res = RGB * intensity;
return res;
float3 res = RGB * intensity;
return res;
Result
Depending on a scene we can get a result such as this:

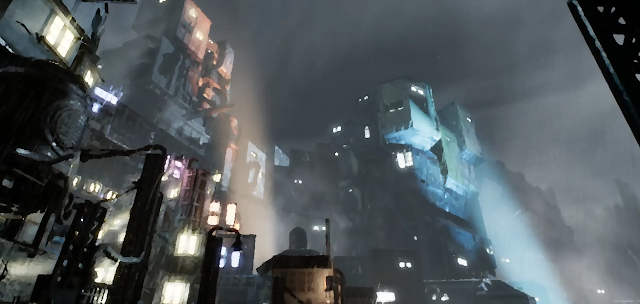
Or with a darker scene.
Notes
- As this is a simple version of the shader, it might not work as desired for all settings, especially for darker settings
References
Sun and Black Cat - link to source code of GLSL toon shader, also offers additional improvements possible for the shader.
UE Wiki Toon Shading - tutorial for a more complex version of toon shading in Unreal Engine

Comments
Post a Comment